Showing posts with label What I made. Show all posts

Thursday, 5 September 2013

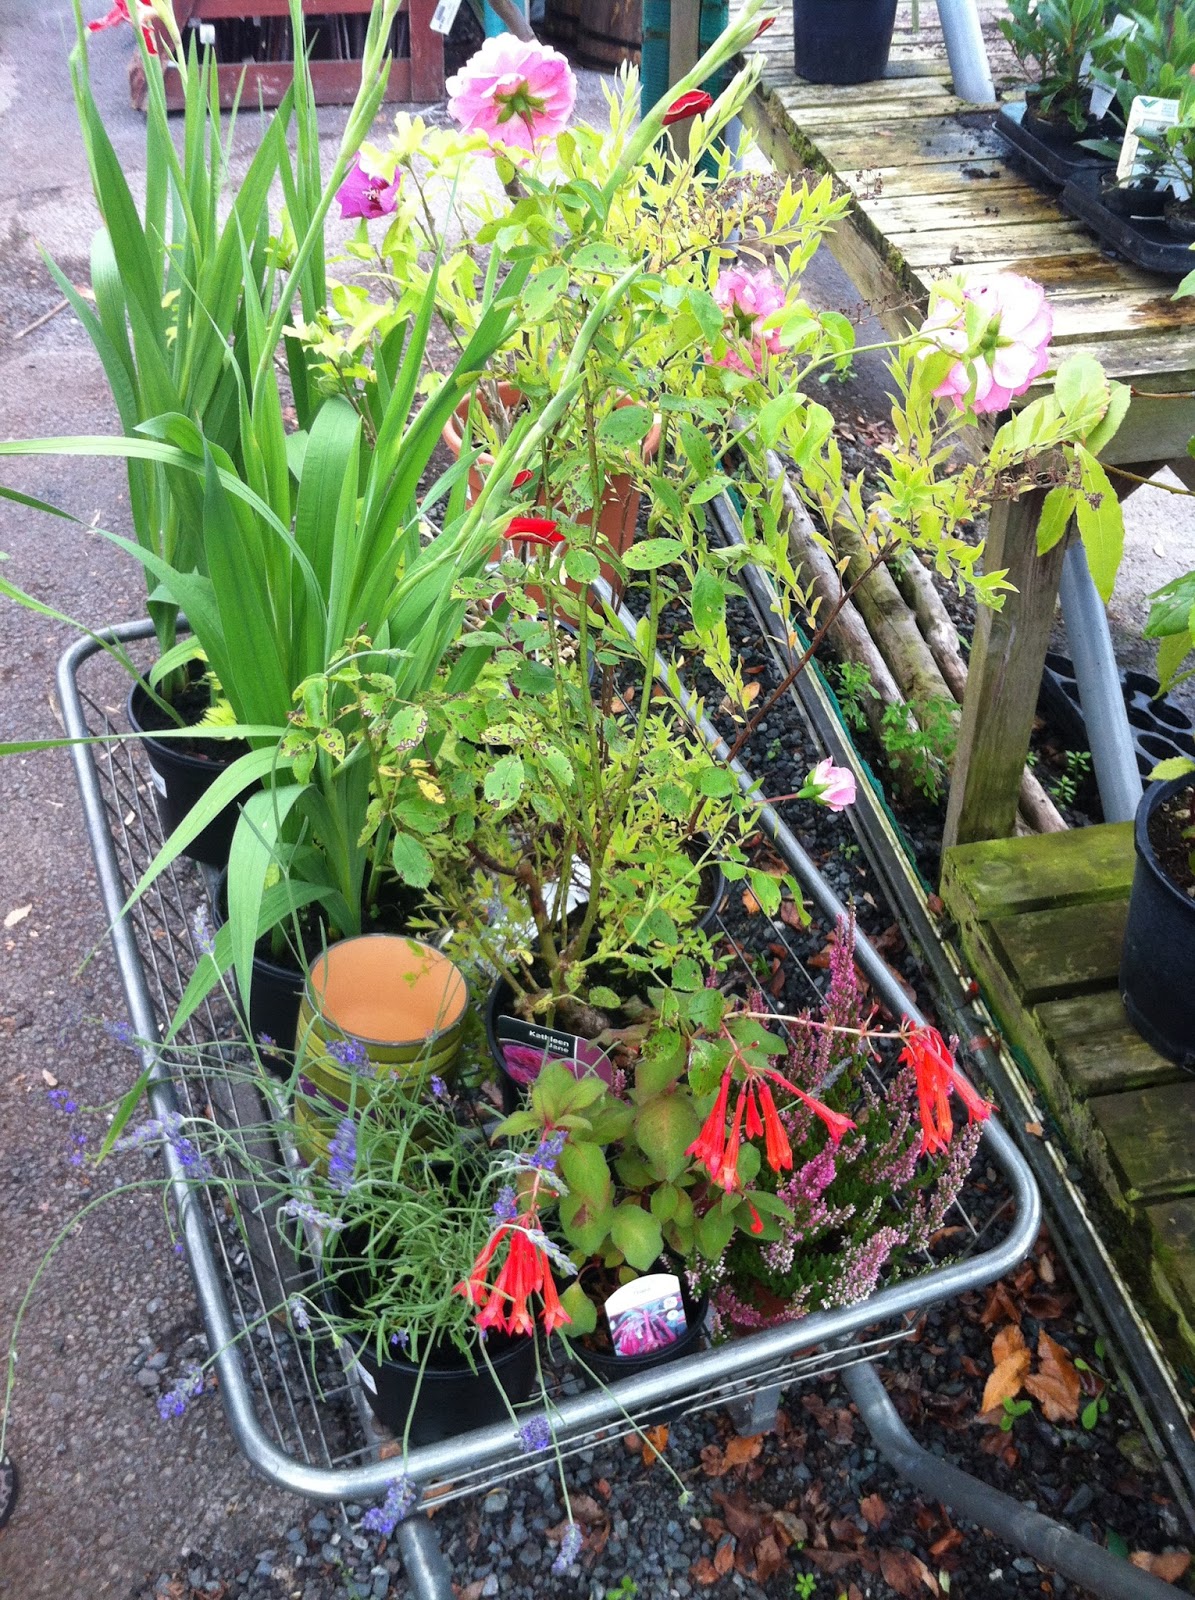
Going mad at the Garden Centre

You know you're getting old when you're HAPPY to spend a Sunday afternoon to stroll around a garden centre with your Bezzie.

What's more, we even got EXCITED about lavender, roses and terracotta plant pots.

We did a good job I think!


My little yard is looking lovely, non? Just a shame we might be moving in the next few months!

Do you love garden centres too? It's ok to admit it here, you're among friends...

Friday, 5 July 2013

You Can Grow Your Own Wayyyyyyy

I'm still growing things in the garden and I'm managing to not kill them!

My little garden patch is coming along nicely, pretty soon I'll have things to pick that I can eat... and that makes me VERY happy. Last year's garden attempt was a complete failure, but it seems to be a different story this year. Maybe I'm growing up?!

Growing strawberries! Get the cream!

Growing yellow African carnations (I think) Blatantly purchased because they were called African something...

Growing courgettes! Oh my!

Attempting to grow blackberries! Mmmm crumble...

Growing teacups!
 So there we are. I was thinking about why last year might have been such a garden disaster and here's my list of how to grow plants in a small garden without killing them:

1. Don't scrimp on the compost, yo. If like me, you have bad soil - mine is almost clay in places, I dug up a small paving slab the other day - then you NEED compost. Take advantage of multi-buy offers. Dig a hole twice the size of the plant (twice as deep, twice as wide) and fill with compost so it's level with the surrounding soil...

2. Wiggle the plant pot container in to the compost to make the shape of the plant. This saves throwing compost around the plant like a crazy woman and getting compost down your nails, ladies! HA! Like I care about that, I'm just lazy.

3. Before you wiggle the plant out of the pot and into its new home, dunk the plant base in water for ten seconds at the roots. This way I like to think that the plant is going into the soil satisfied and not feeling thirsty. It works for me.

4. Plant the plant in the ready made perfectly shaped hole in the compost and pat down then cover over with MORE COMPOST.

5. Throw slug pellets down to stop the little sluggy blighters munching on your new planty friends.

5. Water daily then after a week add some plant food to your watering can.

Ta daaaaaaaaaaaaaaaaaaaaaaaaaaaaaaaaaaaaaaaaaa!

Tuesday, 11 June 2013

Compost and teacups...


Look at my little garden! I've got flowers! I've got a palm tree! I'm growing blackberries, strawberries, courgettes and chillis! I've even got little teacups on sticks and a solar powered hedgehog!

I've got a new obsession. I'm in the garden as much as possible while the sun is out. My neighbours are getting worried because I was still out there at 9.15pm tonight.

Still, I guess there are worse hobbies, right?

Thursday, 6 June 2013

How To Make Lemon Curd Biscuits

Ahhhh biscuits. Such a naughty treat.

I had some time on my hands on Sunday afternoon and I was home alone with ingredients. So I decided to make biscuits.

Lemon curd biscuits.

Do you know, I really struggle with lemon curd, I never know what to have it with, so I usually end up eating it from a teaspoon straight from the jar. How uncouth.

So, if you've never made biscuits before, here's an easy biscuit recipe to get you started.

You'll need:

An oven, preheated to around 190 degrees
150g plain flour
110g butter - unsalted or whatever you've got
55g caster sugar
A tiny bit of water
Lemon curd - don't be silly, shop bought is just fine

You'll do:

Mix the dry ingredients together - flour and sugar. Sieve the flout if you can be arsed, I didn't

Add in the butter - ah ah ah put the wooden spoon down, get your hands in that bowl and mix it all together

Sprinkle some flour over the worktop or chopping board

Roll out the dough to a thin consistency, around 5mm - 1cm is fine. I didn't have a rolling pin so I used a tin foil tube, What?!

Use a cutter, or an egg cup to cut into shapes

Press your thumb into the middle of the biscuit before going in the oven to create a dip

Bake in the oven for around 12 minutes. Turn tray halfway and remove as they start to go brown

Spoon a little lemon curd into the dip created by your thumb

Pop back in the oven for a few minutes

Leave to cool before sampling as the lemon curd will scald your tongue (ahem, not spoken from experience...)

Enjoy!

Now, I admit, I didn't take a photo but they are DELICIOUS! Ok ok if you insist, I'll make some more and take photos. Just for YOU of course!

Welcome to the biscuit club!
Sunday, 19 May 2013

String Art - A great wedding present!

Oh hiya,

I've been wanting to post these photos for a while, but I made this as a present for our friend's wedding, so I had to wait until I'd given it to them in case they read this and saw it before and it ruined the surprise!

Basically, two of my friends, Matt and Lucy got married yesterday and the reception was in the grounds of their own home (they've got a nice place, lots of land). In order to make room for the marquee, they hired a tree surgeon to remove a tree.

The problem was that they removed the WRONG TREE and managed to chop down a beautiful weeping willow as well as the tree they wanted removed.

Ooops. They won't be getting a recommendation...

Anyway, they were gutted as it was a really old tree and a huge part of their garden, but they had pieces of the willow tree chopped up and ready to burn, and I had the idea of making a string art project for them using a piece of their tree, so it could live on in their home.

Plus I'm broke at the moment and thought a hand made present might be a nice inexpensive touch! :)


It was super quick and easy, my little niece and I had lots of fun making it. 

Firstly, we got some nails, in hindsight I would have preferred smaller nails as it was quite nail-heavy overall on the smaller hearts, but they were all I had. We had pencil drawn a heart shape and hammered nails into the general heart shape.

The hardest part was tying a knot in the thread to start it and finish the heart. It all has to look neat and I'm quite clumsy with thread anyway.

Next is the fun part and you just weave around the entire heart and push the thread to the bottom of the shape and then just start randomly weaving round each nail randomly in a criss-cross fashion until you're happy with the result.

Finally, thread all around the heart again at the top of the nail to create a 3D effect and tie the thread in as much of a knot as you can to finish.

Et voila! One quick and easy heartfelt tree stump string art!